| Document ID | CEWIN03 |
| OS | Windows Server 2012 R2 |
STEP 01: Now we are going to setup a Web Server by using Windows Server 2012 R2.
Go to the DASHBOARD —> Click “Manage” —> Add Roles and Features


STEP 02: Click “Next”.

STEP 03: Click “Roles based or feature based installation”.

STEP 04: Select “Select a server from the server pool”. Now we able to see the static IP address that we assign.

STEP 05: Click “Add Features”.

STEP 06: Select “Web Server (IIS)” and click “Next”.

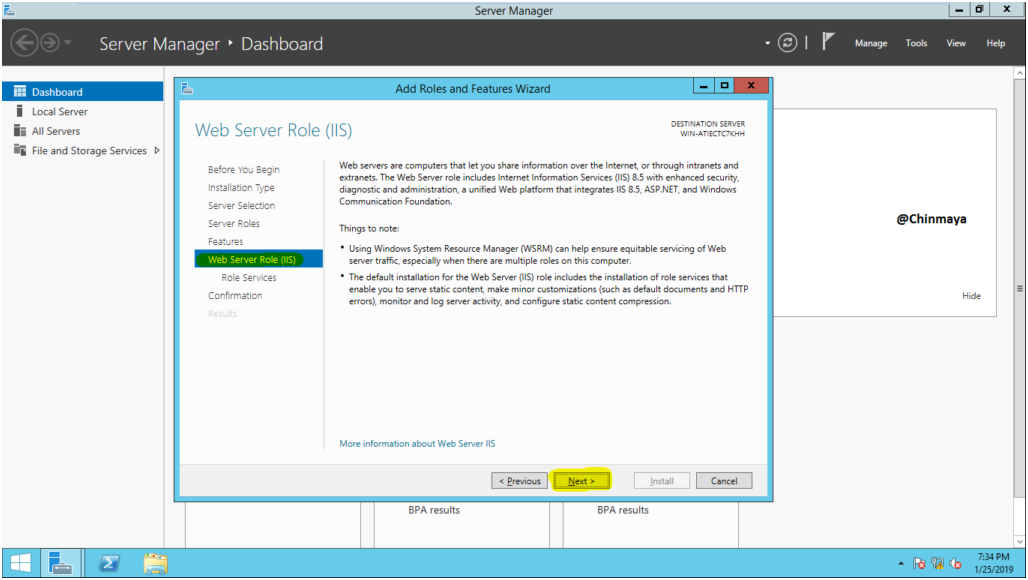
STEP 07: Click “Next”.

STEP 08: Click “Next”.

STEP 09: Below are the default configuration , we also configure HTTP Redirection , FTP Server , etc.


STEP 10: Select on “Restart the destination server automatically if required”.

STEP 11 : Click “Install”.

Installation is in Progress.

Now Installation succeeded.

STEP 12: Open “Internet Information Services (IIS) Manager”.

STEP 13: Click “Yes”


When we click Browse Website (Browse*;80(http)) its redirect to “http://localhost/”.

Also If we directly assign the IP address of the Web Server (http://192.168.50.254) then also its redirect to IIS Server.

Customize the localhost sites.
Location : C Drive —> inetpub —> wwwroot


Leave a Reply